How Big Is a Bread Pan?
Baking the perfect loaf starts with the right pan size. Many home bakers struggle with dense, sunken, or overflowing loaves because they don’t match their recipe to the correct pan dimensions. Getting the bread pan size right makes the difference between bakery-quality results and disappointing failures.
Standard Bread Pan Dimensions
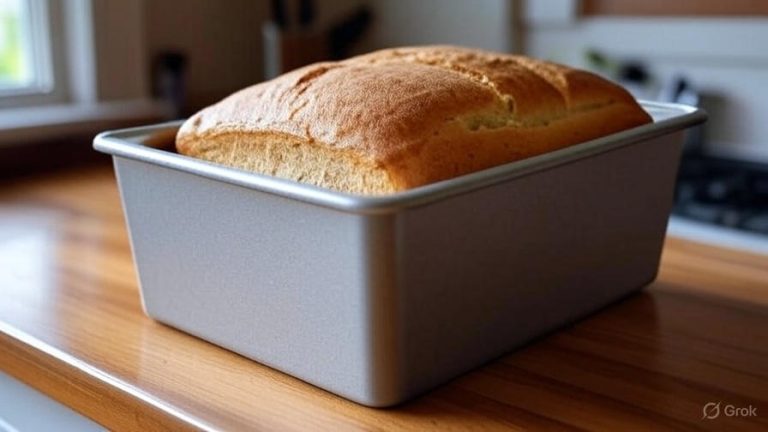
Most recipes call for a standard 9×5-inch loaf pan. This pan measures 9 inches long, 5 inches wide, and typically stands 3 inches tall. The volume capacity holds approximately 8 cups of batter, making it perfect for most basic bread recipes.
The 8.5×4.5-inch pan serves as another common size. This smaller option holds about 6 cups of batter and works well for single-person households or when you want smaller loaves. Professional bakers often prefer this size for portion control and quicker baking times.
Commercial bakeries frequently use 13×4-inch Pullman pans for sandwich bread. These long, narrow pans create perfectly rectangular slices with minimal waste. The enclosed design prevents the characteristic dome shape, producing flat-topped loaves ideal for sandwiches.
Volume Calculations Matter
Pan volume directly affects your baking results. A 9×5-inch pan holds 8 cups, while an 8.5×4.5-inch pan holds 6 cups. Using the wrong volume can lead to overflow or underfilled pans.
Calculate volume by multiplying length × width × height, then converting to cups. For example, a 9×5×3-inch pan equals 135 cubic inches, which translates to approximately 8 cups when you account for the pan’s shape.
Mini loaf pans measure roughly 5.75×3.25 inches and hold 2 cups each. These work perfectly for gift giving or portion control. You can divide one standard recipe among 4-6 mini pans for individual servings.
Material Impact on Pan Performance
Aluminum pans conduct heat efficiently and create golden crusts. Light-colored aluminum works best for most breads, while dark pans may overbrown the bottom before the center cooks through. Professional bakers prefer heavy-gauge aluminum for even heat distribution.
Glass pans like Pyrex require temperature adjustments. Reduce your oven temperature by 25°F when using glass, as it retains heat longer than metal. Glass allows you to monitor browning through the sides, helping prevent overbaking.
Silicone pans offer easy release but may not brown as well as metal options. They work well for quick breads and muffins but struggle with yeasted breads that need good crust development. The flexible material makes removing delicate loaves simple.
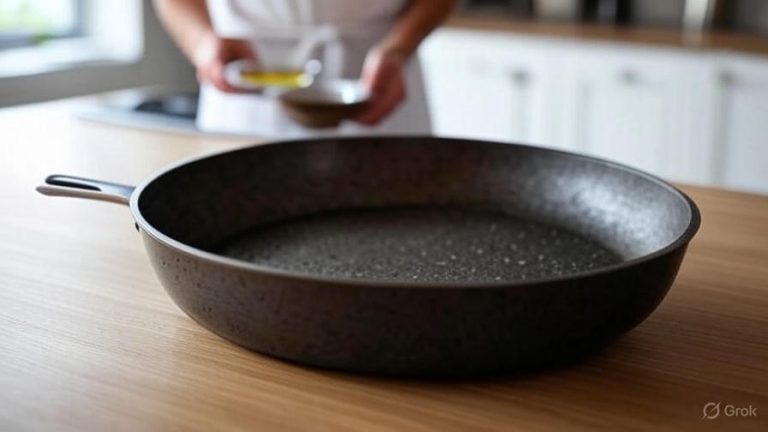
Cast iron pans excel at crusty artisan breads. They retain heat exceptionally well and create excellent oven spring. However, they require proper seasoning and maintenance to prevent rust and sticking.
Recipe-to-Pan Matching
Different bread types require specific pan sizes for optimal results. Sandwich bread works best in standard 9×5-inch pans, creating the familiar rectangular shape with good height for slicing.
Dense breads like banana bread or pound cake need wider pans to cook evenly. An 8.5×4.5-inch pan often works better for these heavy batters, preventing raw centers and overcooked edges.
Artisan breads benefit from shallow, wide pans or free-form baking on sheet pans. These breads develop better crust when not confined to deep sides.
Quick breads rise differently than yeasted varieties. They need room to expand upward without overflowing. Fill pans only two-thirds full to prevent overflow during baking.
Measuring Your Existing Pans
Not all pans labeled “9×5” actually measure those dimensions. Manufacturers sometimes round measurements or include rim dimensions rather than interior space. Always measure your pans yourself for accuracy.
Use a ruler to measure the interior dimensions from rim to rim. Measure length, width, and depth separately. Don’t include the rim thickness in your measurements, as this doesn’t affect volume capacity.
Water measurement provides the most accurate volume assessment. Fill your clean, dry pan with water using a measuring cup. Count the cups needed to reach the rim for exact volume capacity.
Mark your pans with masking tape labels showing their actual dimensions and volume. This prevents confusion when following recipes and ensures consistent results.
Common Sizing Mistakes
Using pans that are too small causes overflow and messy ovens. Dough expands significantly during baking, especially yeasted breads. Always leave room for rise and expansion.
Overly large pans create flat, dense loaves. The batter spreads too thin and doesn’t achieve proper height. Your bread may look more like a pancake than a loaf.
Ignoring depth differences affects baking times. Shallow pans cook faster than deep ones, even with the same length and width. Adjust timing accordingly to prevent over or underbaking.
Mixing pan materials within the same recipe batch can cause uneven results. Different materials heat at different rates, leading to some loaves finishing before others.
Professional Tips for Pan Selection
Restaurant supply stores offer the best selection of professional-grade pans. These cost more initially but last longer and perform better than cheap alternatives. Look for heavy-gauge aluminum or steel construction.
Buy pans in sets when possible. Having multiple identical pans ensures consistent results when baking several loaves. Professional bakers always use matching equipment for reliable outcomes.
Consider your storage space when buying pans. Stackable designs save cabinet room, while nested sets take up minimal space. Measure your storage areas before purchasing to avoid overcrowding.
Test new pans with familiar recipes first. Every pan behaves slightly differently, even within the same brand. Start with recipes you know well to understand how your new pans perform.
Specialty Pan Sizes
Pullman pans create perfectly square sandwich bread. These lidded pans typically measure 13×4×4 inches and produce dense, even-textured loaves. The lid prevents doming and creates uniform slices.
Baguette pans feature multiple long, narrow channels. Each channel measures roughly 15×2.5 inches and creates authentic French bread shapes. These specialty pans require specific techniques and recipes.
Brioche pans have fluted sides and wide, shallow profiles. They typically measure 8-10 inches across and 2-3 inches deep. The shape creates the characteristic rounded top of traditional brioche.
Tea loaf pans are smaller and narrower than standard pans. They measure roughly 7×3 inches and work well for sweet breads, fruit cakes, and portion-controlled servings.
Conversion Guidelines
When adapting recipes for different pan sizes, adjust ingredients proportionally. If your pan holds 6 cups instead of 8, reduce all ingredients by 25%. This maintains proper ratios while fitting your pan size.
Baking times change with pan size. Smaller pans cook faster, while larger pans need more time. Check doneness with a toothpick or instant-read thermometer rather than relying solely on timing.
Temperature adjustments may be necessary for significantly different pan sizes. Reduce temperature by 25°F for larger pans to prevent overbrowning. Increase temperature by 25°F for much smaller pans.
Calculate surface area changes when making major size adjustments. Double the surface area means roughly double the baking time, while half the surface area cuts baking time significantly.
Maintenance and Care
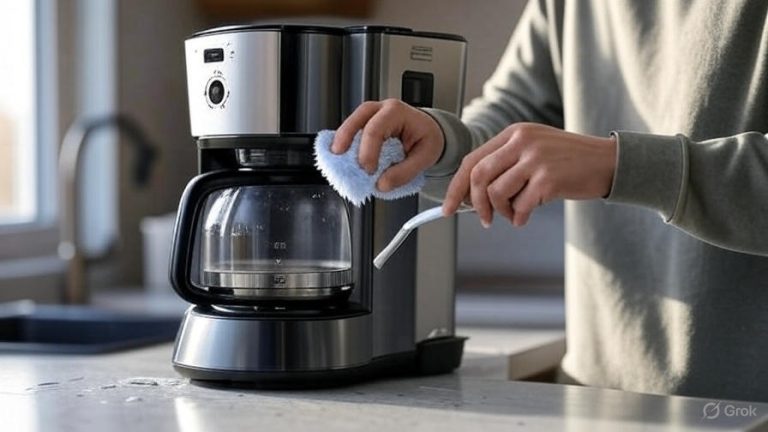
Proper cleaning extends pan life and improves performance. Hand wash aluminum pans to prevent dishwasher damage. Use warm, soapy water and avoid abrasive scrubbers that can scratch the surface.
Season your pans regularly for better release. Rub a thin layer of oil into the pan and bake at 350°F for 15 minutes. This creates a natural non-stick surface that improves with use.
Store pans properly to prevent warping and scratching. Stack with parchment paper between pans or store them nested with soft cloths. Avoid dropping or banging pans, which can cause dents and uneven heating.
Replace pans when they show signs of significant wear. Warped bottoms, deep scratches, or persistent sticking problems indicate it’s time for new equipment. Quality pans last years with proper care.
Budget-Friendly Options
Thrift stores and garage sales often have quality vintage pans at low prices. Check for warping, rust, or damage before buying. Many older pans are actually better quality than modern budget options.
Restaurant supply stores sell professional equipment at reasonable prices. You don’t need to be a restaurant to shop there. The quality far exceeds most home kitchen stores at similar or lower prices.
Buy during sales at major retailers. End-of-season clearances often feature quality bakeware at significant discounts. Stock up when you find good deals on brands you trust.
Consider multi-purpose pans that serve several functions. A good 9×5-inch pan works for breads, meatloaf, and casseroles. Versatile equipment provides better value than single-purpose items.
Troubleshooting Common Issues
Loaves that dome excessively need deeper pans or less batter. Reduce recipe size by 10-15% or switch to a larger pan. Excessive doming often indicates overfilling.
Sunken centers suggest underbaking or temperature issues. Check your oven temperature with a separate thermometer. Dense batters need longer baking times than light, airy ones.
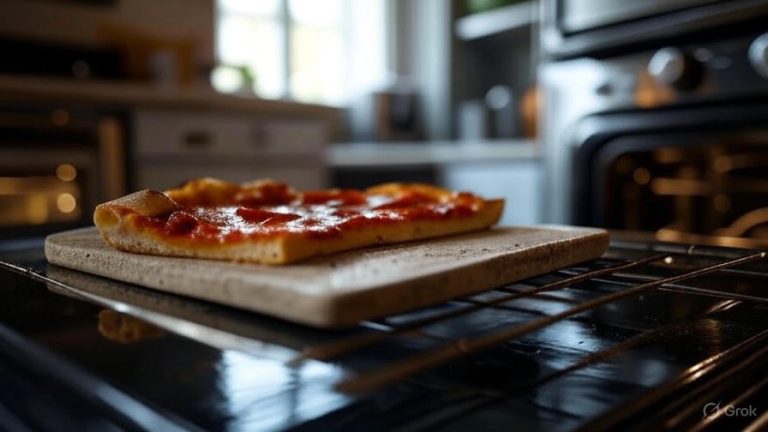
Uneven browning indicates hot spots in your oven or pan issues. Rotate pans halfway through baking and check for warped bottoms. Consider using a baking stone for more even heat distribution.
Sticking problems often result from inadequate greasing or worn pan surfaces. Use parchment paper for difficult recipes or invest in quality non-stick pans. Proper preparation prevents most sticking issues.
The Science Behind Pan Selection
Heat transfer varies significantly between materials and sizes. Aluminum conducts heat quickly and evenly, while glass retains heat longer. Understanding these differences helps you adjust techniques for optimal results.
Surface area affects crust development. More exposed surface creates more crust, while deep pans create less. Consider your preferences when selecting pan depths and widths.
Thermal mass impacts baking performance. Heavy pans heat more slowly but maintain temperature better. Light pans heat quickly but may create hot spots. Match your pan weight to your baking style.
Steam circulation affects crust texture. Enclosed pans like Pullman create softer crusts, while open pans develop crispier exteriors. Choose based on your desired final texture.
Conclusion
The right bread pan size transforms your baking results from mediocre to magnificent. Standard 9×5-inch pans work for most recipes, while 8.5×4.5-inch pans suit smaller households and denser breads. Always measure your pans accurately and match recipe volumes to pan capacity.
Quality matters more than quantity when building your pan collection. Invest in well-made pans that will last for years rather than cheap alternatives that warp or wear quickly. Professional-grade equipment produces professional-quality results.
Remember that successful baking combines the right equipment with proper technique. Even the perfect pan won’t save a poorly mixed batter or incorrect oven temperature. Master the basics first, then let quality equipment elevate your skills to the next level.
Start with one or two quality pans in standard sizes, then expand your collection as your skills and interests develop. Good bread pans are tools that improve with age and use, becoming more valuable to your baking success over time.