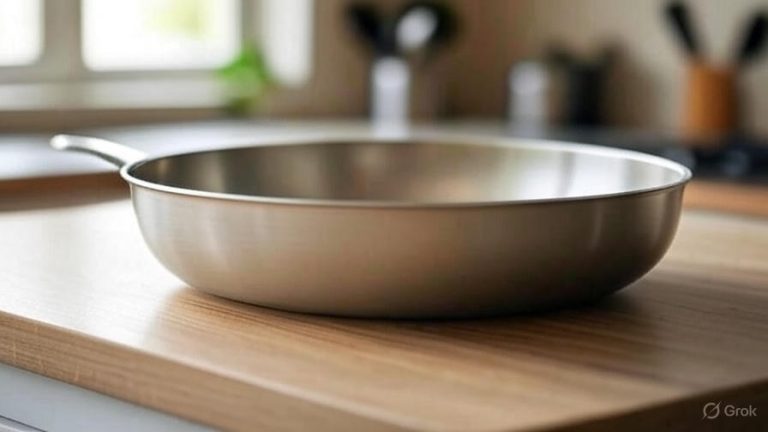
How to Clean Spots on Stainless Steel?
Stainless steel appliances bring elegance and modern appeal to any kitchen, but those stubborn spots and stains can quickly turn your beautiful surfaces into eyesores. You’ve probably noticed how fingerprints, water marks, and mysterious spots seem to appear overnight on your refrigerator, dishwasher, or sink. The good news is that removing these spots doesn’t require expensive commercial cleaners or hours of scrubbing.
This comprehensive guide will walk you through proven methods to restore your stainless steel surfaces to their original shine. From identifying different types of spots to preventing future stains, you’ll learn everything needed to keep your stainless steel looking pristine.
Types of Spots on Stainless Steel Surfaces
Before diving into cleaning methods, you need to understand what causes different spots on stainless steel. Each type requires a specific approach for effective removal.
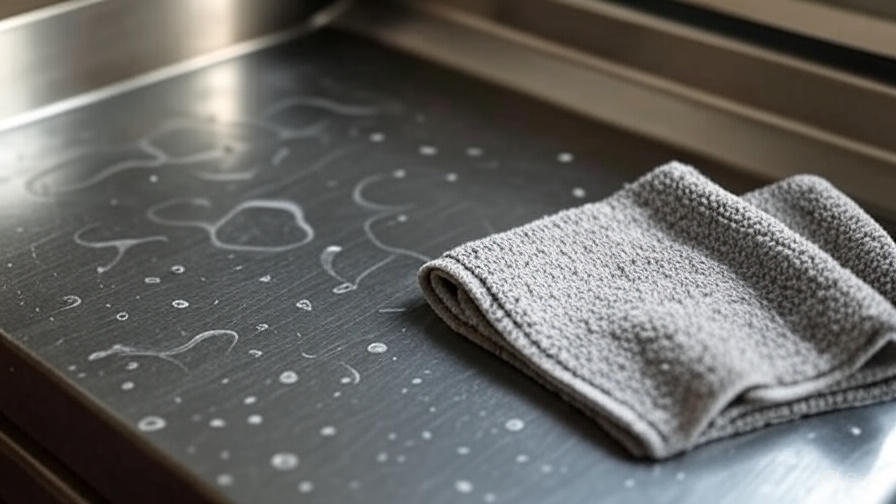
Water spots and mineral deposits form when hard water dries on the surface, leaving behind calcium and magnesium residue. These white or cloudy marks are especially common around kitchen sinks and on refrigerator water dispensers.
Fingerprints and smudges result from natural oils on your skin transferring to the steel surface. These oily marks attract dust and debris, making them more noticeable over time.
Heat stains and discoloration appear as rainbow-colored or brown patches, typically caused by excessive heat exposure or cooking splashes that have been baked onto the surface.
Rust spots and corrosion can develop when the protective chromium layer gets damaged or when iron particles from other sources contaminate the surface.
Food stains and grease buildup occur from cooking activities, creating sticky residues that attract more dirt and grime.
Essential Cleaning Supplies for Stainless Steel
Having the right tools makes all the difference when cleaning stainless steel spots. You don’t need a cabinet full of expensive products – most effective cleaners are already in your home.
Microfiber cloths are your best friend for stainless steel cleaning. These lint-free cloths won’t scratch the surface and effectively capture dirt and oils. Keep several on hand – one for cleaning and another for drying and polishing.
White vinegar acts as a natural degreaser and mineral deposit remover. Its acidic properties break down water spots and soap scum without damaging the steel.
Baking soda works as a gentle abrasive that lifts stubborn stains without scratching. It also neutralizes odors and helps remove grease buildup.
Olive oil or mineral oil provides the finishing touch for polishing and protecting your cleaned surfaces. A small amount goes a long way in restoring shine.
Dish soap – specifically mild, grease-cutting formulas – helps remove food residues and oily fingerprints effectively.
Rubbing alcohol evaporates quickly and leaves no residue, making it perfect for final cleaning and disinfecting.
Cream of tartar combines with water to create a paste that tackles tough stains and discoloration.
Step-by-Step Cleaning Methods
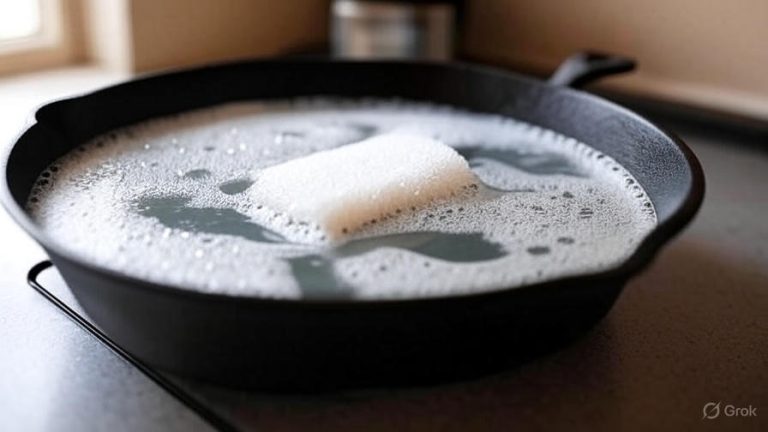
Method 1: Basic Daily Cleaning
Daily maintenance prevents spots from becoming permanent stains. This simple routine takes just minutes but keeps your stainless steel looking fresh.
Start by removing any loose debris or crumbs from the surface. Mix a few drops of mild dish soap with warm water in a spray bottle or bowl. Spray the solution onto the stainless steel or dampen your microfiber cloth with it.
Wipe the surface following the grain direction of the steel. This natural pattern runs horizontally or vertically depending on your appliance. Going against the grain can create visible scratches and streaks.
Rinse with clean water to remove soap residue, then dry immediately with a clean microfiber cloth. This prevents water spots from forming as the surface air-dries.
For a final polish, apply a small amount of olive oil to a clean cloth and buff the surface lightly. This creates a protective barrier that repels fingerprints and water spots.
Method 2: Vinegar Solution for Water Spots
Water spots require a slightly acidic solution to dissolve mineral deposits effectively. White vinegar provides this acidity naturally without harsh chemicals.
Create a solution using equal parts white vinegar and warm water. For heavily spotted areas, use undiluted vinegar for stronger cleaning power.
Apply the vinegar solution with a spray bottle or by dampening a microfiber cloth. Let it sit on the spots for 2-3 minutes to break down mineral deposits.
Wipe the area following the steel’s grain pattern, applying gentle pressure to stubborn spots. The acidic solution will dissolve calcium and magnesium buildup.
Rinse thoroughly with clean water to remove all vinegar residue. Vinegar left on the surface can eventually cause etching or dullness.
Dry completely with a clean microfiber cloth, then apply a thin layer of olive oil for protection and shine.
Method 3: Baking Soda Paste for Tough Stains
Stubborn stains and heat discoloration need more aggressive treatment. Baking soda provides gentle abrasive action without damaging the steel surface.
Mix baking soda with just enough water to form a thick paste. The consistency should be similar to toothpaste – thick enough to stay in place but spreadable.
Apply the paste directly to stained areas using your fingers or a soft cloth. Cover the entire stain with a thin layer of paste.
Let the paste sit for 10-15 minutes to allow the baking soda to work on the stain. For heat stains or discoloration, extend this time to 20 minutes.
Gently scrub the area with a microfiber cloth, moving in the direction of the grain. The baking soda will lift stains without scratching the surface.
Rinse thoroughly with clean water and dry completely. Check if the stain is gone – repeat the process if necessary for particularly stubborn spots.
Method 4: Cream of Tartar for Discoloration
Heat-related discoloration and rainbow stains respond well to cream of tartar treatments. This natural acid effectively removes these challenging marks.
Mix cream of tartar with lemon juice to create a paste slightly thinner than the baking soda mixture. The citric acid in lemon juice enhances the cleaning power.
Apply this paste to discolored areas and let it work for 10 minutes. The acid will begin breaking down the heat stains during this time.
Scrub gently with a soft cloth or non-abrasive sponge, following the grain direction. You should see the discoloration beginning to fade.
Rinse completely and dry the surface. For severe discoloration, you may need to repeat this process several times.
Method 5: Club Soda for Quick Touch-Ups
Club soda offers a gentle cleaning option that’s perfect for quick maintenance and light spot removal. The carbonation helps lift dirt and oils naturally.
Pour club soda directly onto the spotted area or spray it from a bottle. The bubbling action helps loosen surface contaminants.
Wipe with a microfiber cloth following the grain pattern. The mild acidity and carbonation work together to remove light stains and fingerprints.
Dry immediately to prevent water spots from forming. Club soda leaves no residue, making it ideal for frequent touch-ups.
This method works best for daily maintenance rather than heavy-duty cleaning of stubborn stains.
Tackling Specific Stain Types
Removing Fingerprints and Smudges
Fingerprints contain oils that require different treatment than water-based stains. The key is breaking down these oils without spreading them around.
Start with a dry microfiber cloth to remove surface oils. Sometimes this simple step eliminates light fingerprints completely.
For persistent prints, use rubbing alcohol on a clean cloth. The alcohol dissolves oils effectively and evaporates quickly without leaving residue.
Wipe gently in the direction of the grain, then immediately dry with a clean cloth. Apply a small amount of olive oil to restore shine and create a protective barrier.
Eliminating Water Spots and Mineral Buildup
Hard water creates the most common staining problem on stainless steel. These white, chalky spots require acid-based solutions for complete removal.
Undiluted white vinegar works best for heavy mineral buildup. Apply it to a cloth rather than spraying directly on the surface to control application.
For extremely stubborn deposits, heat the vinegar slightly to increase its effectiveness. Warm vinegar penetrates mineral buildup more efficiently.
After cleaning, always rinse thoroughly and dry completely. Leaving vinegar residue can eventually cause etching of the steel surface.
Addressing Heat Stains and Discoloration
Rainbow-colored heat stains are among the most challenging spots to remove from stainless steel. These require patience and the right technique.
Create a paste using cream of tartar and water, then add a few drops of lemon juice for extra acid power. This combination effectively breaks down heat-related discoloration.
Apply the paste thickly over the entire discolored area and let it work for 15-20 minutes. The longer contact time allows the acids to penetrate the stain.
Scrub very gently with a soft cloth, checking your progress frequently. Heat stains may require multiple treatments to disappear completely.
Never use abrasive cleaners or steel wool on heat stains, as these will create permanent scratches that are much worse than the original discoloration.
Professional Tips for Streak-Free Results
Achieving professional-looking results requires attention to detail and proper technique. These insider tips will help you get restaurant-quality shine at home.
Always work with the grain of the stainless steel. This natural pattern determines the direction you should clean and polish. Going against the grain creates visible streaks and can cause micro-scratches.
Use separate cloths for each step of the cleaning process. One cloth for cleaning, one for rinsing, and one for final polishing prevents cross-contamination and ensures better results.
Work in sections on large surfaces like refrigerator doors or range hoods. Complete the entire cleaning process on one section before moving to the next to prevent streaking.
Apply cleaners to your cloth, not directly to the surface when possible. This gives you better control and prevents excess cleaner from running into crevices or onto other surfaces.
Temperature matters when cleaning stainless steel. Room temperature surfaces clean more easily than very hot or cold ones. Let appliances cool down before cleaning for best results.
Lighting helps reveal missed spots and streaks. Clean during daylight hours or use bright overhead lighting to see your work clearly.
Common Cleaning Mistakes to Avoid
Many people unknowingly damage their stainless steel surfaces by using incorrect cleaning methods. Avoiding these mistakes will keep your appliances looking new longer.
Never use bleach or chlorine-based cleaners on stainless steel. These chemicals can cause pitting and permanent discoloration that cannot be repaired.
Avoid abrasive cleaners, steel wool, or scouring pads that can scratch the surface. Once scratched, stainless steel cannot be restored to its original smooth finish.
Don’t let cleaning solutions sit too long on the surface. Even mild acids like vinegar can cause etching if left for extended periods.
Resist the urge to scrub vigorously when spots don’t come off immediately. Patient, gentle cleaning with the right products works better than aggressive scrubbing.
Never clean hot surfaces immediately after cooking. The heat can cause cleaners to evaporate too quickly or even burn onto the surface.
Don’t forget to dry surfaces completely after cleaning. Air-drying often leaves water spots that require additional cleaning to remove.
Preventive Maintenance Strategies
Prevention is always easier than removal when it comes to stainless steel spots. These simple habits will minimize staining and keep your surfaces looking their best.
Wipe spills immediately before they have a chance to dry and become permanent stains. Keep microfiber cloths handy in the kitchen for quick cleanups.
Dry water drops as soon as you notice them, especially around sinks and water dispensers. This simple habit prevents most water spots from forming.
Use cutting boards and trivets to protect surfaces from direct contact with hot pots, pans, and acidic foods that can cause staining.
Clean regularly with mild soap and water rather than waiting for heavy buildup to develop. Weekly cleaning prevents most staining problems.
Apply a thin coat of olive oil monthly to create a protective barrier that repels fingerprints and water spots.
Check and clean regularly behind and around appliances where grease and dust can accumulate unnoticed.
Natural vs. Commercial Cleaners
While commercial stainless steel cleaners are available, natural alternatives often work just as well and cost much less. Both have their place in your cleaning arsenal.
Natural cleaners like vinegar, baking soda, and lemon juice are safe, economical, and effective for most staining problems. They’re also environmentally friendly and safe to use around food preparation areas.
Commercial cleaners may work faster on extremely stubborn stains and often include protective ingredients that help prevent future spotting. They’re convenient but more expensive.
Combination approach works best for most households. Use natural cleaners for regular maintenance and commercial products for tough, occasional problems.
When choosing commercial cleaners, look for products specifically designed for stainless steel that don’t contain chlorine, ammonia, or abrasives.
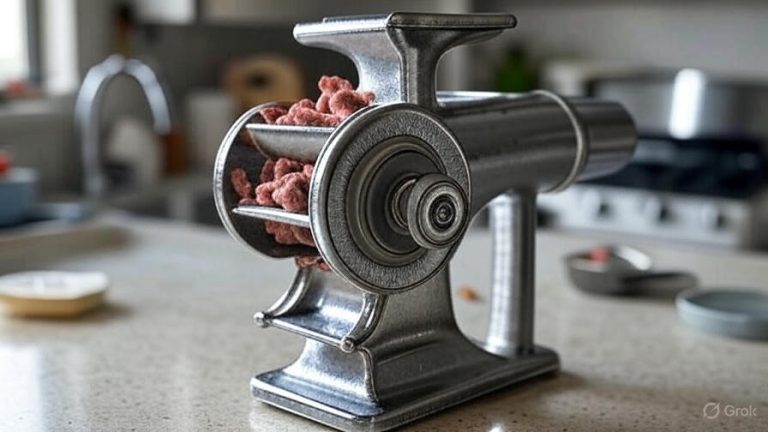
Maintaining Different Stainless Steel Appliances
Different appliances have unique cleaning challenges that require specific approaches for best results.
Refrigerators face constant handling, making fingerprint removal a priority. Daily wiping with microfiber cloths prevents buildup, while weekly deep cleaning maintains the finish.
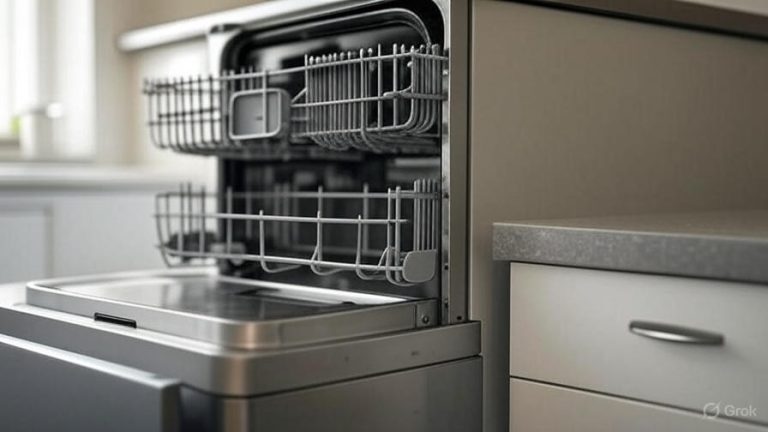
Dishwashers deal with water spots from steam and splash-back. Focus on the door and handle area, where spots are most visible.
Range hoods accumulate grease and cooking residue that requires degreasing cleaners. Remove filters regularly for separate cleaning.
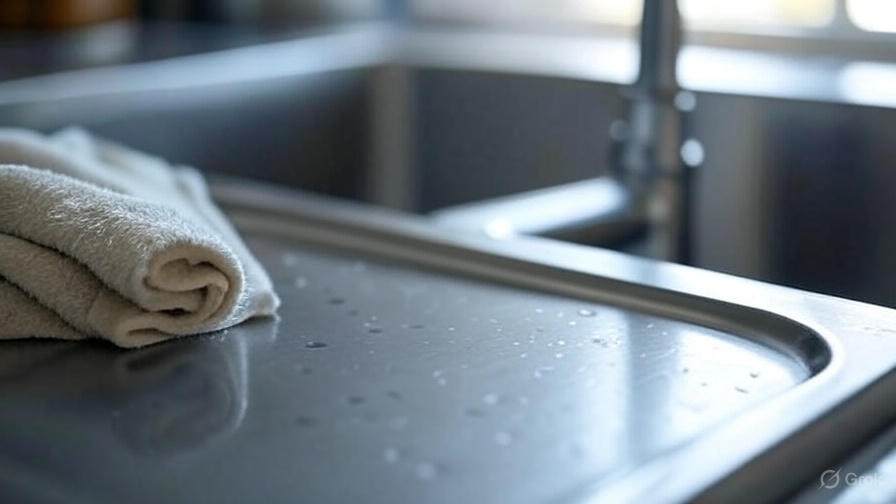
Sinks encounter constant water exposure and food residues. Daily drying after use prevents most water spots, while weekly deep cleaning removes any buildup.
Cooktops face heat exposure and food spills that can create tough stains. Clean spills immediately while the surface is still warm but not hot.
Conclusion
Cleaning spots on stainless steel doesn’t have to be a frustrating chore. With the right knowledge, tools, and techniques, you can keep your appliances looking showroom-new with minimal effort. The key lies in understanding what causes different types of spots and using the appropriate cleaning method for each situation.
Regular maintenance using simple, natural ingredients like vinegar, baking soda, and microfiber cloths will handle most cleaning challenges. For tougher stains, specialized techniques using cream of tartar or targeted commercial cleaners can restore even heavily damaged surfaces.
Remember that prevention is always easier than removal. By developing good habits like immediate spill cleanup, regular drying, and weekly maintenance cleaning, you’ll minimize the formation of stubborn spots and keep your stainless steel surfaces looking beautiful for years to come.
The methods outlined in this guide will help you achieve professional-quality results without expensive products or time-consuming procedures. Your stainless steel appliances will thank you with lasting beauty and easy maintenance that makes your entire kitchen look more polished and inviting.