How to Keep Pancakes Warm?
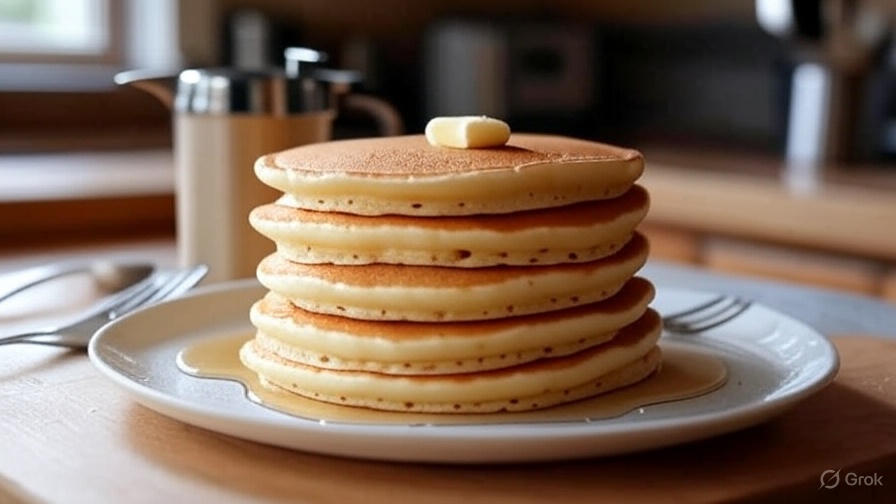
Nothing beats the disappointment of serving cold, soggy pancakes to your family on a beautiful weekend morning. You spend time creating the perfect batter, carefully flipping each pancake to golden perfection, only to watch them lose their warmth and fluffy texture while you finish cooking the rest of the batch. This common breakfast dilemma affects home cooks everywhere, but the solution is simpler than you might think.
Keeping pancakes warm requires the right techniques and tools. With proper methods, you can maintain that fresh-from-the-griddle taste and texture that makes pancakes so irresistible. This comprehensive guide reveals professional techniques and simple home solutions that will transform your pancake-making experience.
The Science Behind Pancake Temperature
Heat retention in pancakes depends on several factors that work together to maintain optimal serving temperature. The moisture content in pancakes creates steam that helps keep them warm, but this same moisture can make them soggy if trapped incorrectly. The protein structure in pancakes continues to cook slightly even after removal from heat, which means temperature control becomes crucial for texture preservation.
Understanding these principles helps you make better decisions about warming methods. Pancakes contain air pockets that trap heat, but they also cool rapidly due to their thin profile. The key lies in maintaining warmth without continuing the cooking process or creating unwanted moisture buildup.
Oven Method: The Gold Standard
The oven method stands as the most reliable technique for keeping pancakes warm. This approach provides gentle, even heat that maintains texture without overcooking. Professional kitchens rely on this method because it works consistently for both small and large batches.
Start by preheating your oven to 200°F (93°C). This low temperature keeps pancakes warm without drying them out or making them tough. Place a large baking sheet or oven-safe plate in the oven while it preheats. The warm surface helps maintain bottom heat, preventing the pancakes from cooling from below.
Line the warmed baking sheet with parchment paper or a clean kitchen towel. The parchment prevents sticking while allowing air circulation. A kitchen towel absorbs excess moisture while providing insulation. Transfer each pancake to the prepared sheet as soon as it comes off the griddle.
Cover the pancakes loosely with aluminum foil, leaving some space for air circulation. This creates a gentle steam environment that keeps them moist without making them soggy. The foil reflects heat back onto the pancakes while preventing them from drying out.
Check the pancakes every 15-20 minutes if you’re keeping them warm for extended periods. They can safely stay warm in a 200°F oven for up to 30 minutes without significant quality loss. Beyond this time, they may start to dry out or become tough.
Warming Drawer Excellence
Modern kitchens often feature warming drawers that excel at keeping pancakes at perfect serving temperature. These appliances maintain consistent low heat specifically designed for food warming. Set your warming drawer to the lowest temperature setting, typically around 140-170°F (60-77°C).
Place pancakes on plates or a large platter inside the warming drawer. Stack them no more than three high to ensure even heat distribution. The controlled environment prevents moisture loss while maintaining the ideal temperature for serving.
Warming drawers work particularly well for entertaining because they free up oven space for other dishes. You can keep multiple batches warm simultaneously without worrying about timing or temperature fluctuations.
Thermos Flask Innovation
The thermos flask method offers a creative solution for keeping pancakes warm, especially useful for outdoor dining or travel situations. This technique works by creating a controlled microclimate that maintains both temperature and moisture.
Choose a wide-mouth thermos flask large enough to accommodate your pancakes. Pre-warm the flask by filling it with hot water and letting it sit for several minutes. Empty the water and immediately place warm pancakes inside, stacking them carefully with parchment paper between layers.
The insulated walls of the thermos create a stable environment that keeps pancakes warm for up to two hours. This method works particularly well for camping trips, picnics, or when you need to transport warm pancakes to another location.
Microwave Warming Techniques
Microwaves offer quick reheating solutions when you need to warm pancakes that have already cooled. However, this method requires careful attention to prevent overheating or creating tough textures.
Place pancakes on a microwave-safe plate with a damp paper towel covering them. The moisture from the towel creates steam that helps reheat the pancakes gently. Use 30-second intervals at medium power, checking after each interval to prevent overheating.
For single pancakes, 20-30 seconds usually suffices. Stacks of pancakes require longer warming times, but always use short intervals to maintain control. The microwave method works best for immediate serving rather than extended warming periods.
Toaster Oven Solutions
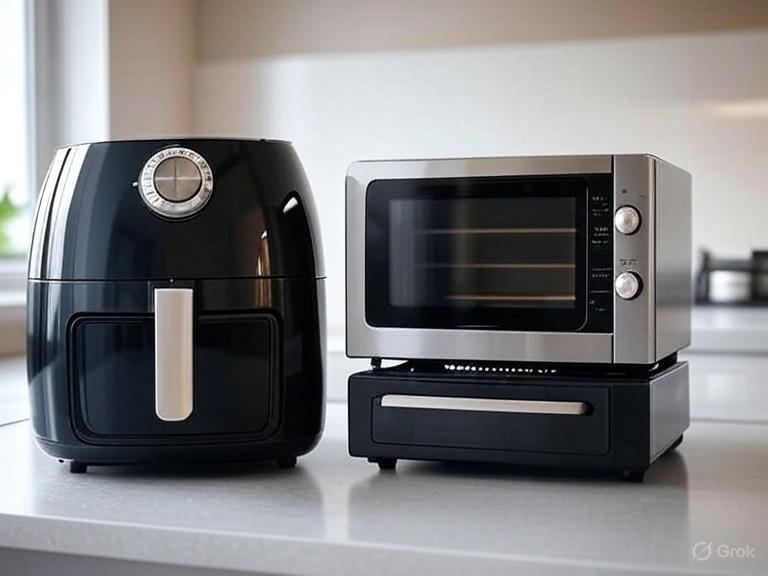
Toaster ovens provide an excellent middle ground between full oven warming and microwave reheating. Their compact size makes them energy-efficient while still providing gentle, even heat distribution.
Set your toaster oven to its lowest temperature setting, typically around 170-200°F (77-93°C). Place pancakes on the toaster oven tray, covering them with foil to prevent drying. The smaller space heats up quickly and maintains consistent temperature.
This method works well for small batches or when your main oven is occupied with other dishes. The compact size also makes it easier to monitor the pancakes and adjust as needed.
Slow Cooker Strategy
Slow cookers offer an unconventional but effective method for keeping pancakes warm. The low, steady heat creates an ideal environment for temperature maintenance without overcooking.
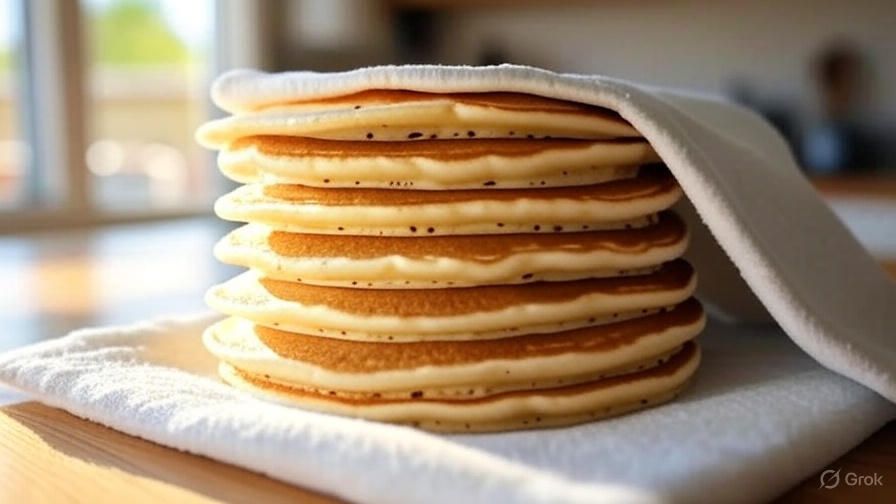
Set your slow cooker to the “warm” setting and place a heat-safe plate inside. Stack pancakes on the plate, covering them with a clean kitchen towel to absorb moisture. The slow cooker’s lid helps maintain consistent temperature while the towel prevents sogginess.
This method works particularly well for large batches or extended warming periods. The slow cooker can keep pancakes warm for several hours without significant quality loss, making it perfect for brunch gatherings or meal prep situations.
Plate Stacking Method
The plate stacking method provides a simple solution when you don’t have specialized warming equipment. This technique uses the thermal mass of warm plates to maintain pancake temperature.
Pre-warm several plates in a low oven or by running them under hot water. Place the first pancake on a warm plate, then place another warm plate on top. Continue stacking pancakes between warm plates, creating a insulated tower.
Cover the entire stack with a clean kitchen towel or aluminum foil. The thermal mass of the plates helps maintain warmth while the covering prevents heat loss. This method works best for short-term warming, typically 10-15 minutes.
Professional Kitchen Techniques
Restaurant kitchens use specialized equipment and techniques that home cooks can adapt. Heat lamps provide consistent radiant heat that keeps food warm without continuing the cooking process. While home heat lamps are available, they represent a significant investment for occasional use.
Professional warming trays offer another solution that works well in home kitchens. These electric appliances provide gentle, even heat across a large surface area. They’re particularly useful for buffet-style serving or when you need to keep multiple dishes warm simultaneously.
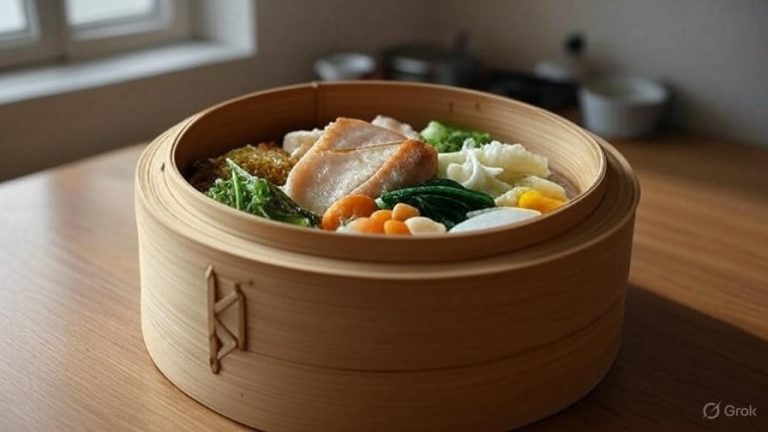
Steam tables represent the ultimate professional solution, but they’re typically too large and expensive for home use. However, you can create a similar effect using a large pot with a steamer insert and very low heat.
Avoiding Common Mistakes
Several mistakes can ruin your pancake warming efforts. Excessive heat represents the most common error, leading to tough, dry pancakes that lose their fluffy texture. Always use the lowest temperature settings available on your equipment.
Improper covering techniques can trap too much moisture, creating soggy pancakes. Use loose coverings that allow some air circulation while still maintaining warmth. Avoid plastic wrap or tight-fitting lids that trap steam.
Stacking pancakes too high can create uneven heating and moisture problems. Keep stacks to three pancakes maximum, using parchment paper between layers to prevent sticking and promote even heat distribution.
Timing and Batch Management
Successful pancake warming requires careful timing and batch management. Start warming your first batch as soon as it comes off the griddle, rather than waiting until all pancakes are cooked. This approach ensures consistent temperature across all servings.
Plan your cooking sequence to minimize the time each batch spends in warming. Cook pancakes in the order they’ll be served, keeping earlier batches warm while finishing later ones. This strategy prevents any single batch from staying warm too long.
Consider your guests’ preferences when timing your cooking. Some people prefer their pancakes immediately hot, while others don’t mind slightly cooler temperatures. Adjust your warming strategy accordingly.
Storage and Reheating for Later
Long-term storage requires different techniques than immediate warming. Cool pancakes completely before storing them in the refrigerator or freezer. This prevents condensation that can make them soggy.
For refrigerated pancakes, reheat them using the microwave method with damp paper towels. The moisture helps restore their original texture. Frozen pancakes can go directly from freezer to toaster or toaster oven for convenient reheating.
Consider making extra pancakes specifically for storage. Having pre-made pancakes available makes quick breakfasts possible throughout the week. They reheat well and can save significant time on busy mornings.
Equipment Recommendations
Invest in quality equipment that supports your pancake warming goals. Heavy-duty aluminum pans conduct heat evenly and maintain temperature well. Avoid thin pans that create hot spots or cool too quickly.
Digital thermometers help monitor warming temperatures accurately. This precision prevents overheating while ensuring food safety. Instant-read thermometers work well for quick checks.
Quality kitchen towels absorb moisture effectively while providing insulation. Choose lint-free towels that won’t leave residue on your pancakes. Having several clean towels available makes the process more efficient.
Conclusion
Mastering pancake warming techniques transforms your breakfast experience from rushed and stressful to relaxed and enjoyable. The oven method provides the most reliable results for most situations, while specialized equipment like warming drawers offers convenience for frequent pancake makers.
Remember that gentle heat and proper moisture management are key to maintaining pancake quality. Whether you choose the simple plate stacking method or invest in professional-grade warming equipment, the principles remain the same: low heat, proper covering, and careful timing.
Your family and guests will notice the difference when you serve consistently warm, fluffy pancakes. These techniques ensure that every pancake tastes as good as the first one off the griddle, making your weekend breakfasts memorable for all the right reasons.
The investment in proper warming techniques pays dividends in improved meal quality and reduced kitchen stress. Start with the oven method and expand your toolkit as you become more comfortable with these professional approaches. Your pancakes will thank you, and so will everyone who enjoys them.

