How to Pan Sear Steak?
Pan searing steak transforms an ordinary piece of meat into a culinary masterpiece. This cooking method creates a beautiful golden-brown crust while keeping the interior tender and juicy. You can achieve restaurant-quality results in your own kitchen with the right technique, proper equipment, and attention to detail.
The art of pan searing relies on high heat, proper timing, and quality ingredients. When done correctly, this technique produces a steak with incredible flavor depth and the perfect contrast between a crispy exterior and succulent interior. Home cooks often struggle with this method because they rush the process or use incorrect temperatures.
The Science Behind Perfect Pan Searing
Heat creates the magic in pan searing through a process called the Maillard reaction. This chemical reaction occurs when proteins and sugars in the meat encounter high temperatures, typically above 300°F. The reaction produces hundreds of flavor compounds that give seared steak its distinctive taste and aroma.
Surface moisture acts as the enemy of proper searing. Water prevents the meat from reaching the temperatures necessary for browning. Steam forms when moisture hits the hot pan, creating a barrier between the meat and the cooking surface. This barrier prevents proper caramelization and results in gray, steamed meat instead of a golden-brown crust.
Professional chefs understand that patience plays a crucial role in successful searing. Rushing the process by moving the steak too early prevents proper crust formation. The meat needs time to develop its exterior before you flip it to the other side.
Essential Equipment for Pan Searing Success
Your choice of cookware significantly impacts your searing results. Cast iron skillets reign supreme for pan searing because they retain heat exceptionally well and distribute it evenly across the cooking surface. These pans can withstand extremely high temperatures without warping or losing their heating properties.
Stainless steel pans offer another excellent option for searing steaks. They heat quickly and provide excellent heat conduction when properly preheated. Heavy-bottomed stainless steel pans work best because they prevent hot spots that can cause uneven cooking.
Carbon steel pans combine the best features of cast iron and stainless steel. They heat quickly like stainless steel but retain heat like cast iron. Professional kitchens often prefer carbon steel for its versatility and superior heat retention properties.
Avoid non-stick pans for searing steaks. These pans cannot withstand the high temperatures required for proper searing without releasing toxic fumes or damaging their coating. Non-stick surfaces also prevent the formation of fond, the flavorful browned bits that enhance your pan sauce.
A reliable meat thermometer ensures consistent results every time you cook. Instant-read thermometers provide quick temperature readings, while probe thermometers allow continuous monitoring without opening the oven door during finishing.
Selecting the Right Cut for Pan Searing
Thick cuts work best for pan searing because they allow you to develop a proper crust without overcooking the interior. Steaks should measure at least one inch thick, with one and a half inches being ideal for most cooking methods.
Ribeye steaks contain abundant marbling that melts during cooking, creating incredible flavor and tenderness. The fat content makes these steaks nearly foolproof for beginners because the marbling prevents them from drying out during cooking.
New York strip steaks offer a perfect balance of tenderness and beefy flavor. These cuts contain moderate marbling and hold up well to high-heat cooking methods. Strip steaks develop beautiful crusts when properly seared.
Filet mignon provides the most tender eating experience but requires careful attention during cooking. This lean cut can quickly become overcooked because it lacks the protective fat found in other premium cuts.
Porterhouse and T-bone steaks give you two different textures in one cut. The tenderloin side cooks faster than the strip side, so position the tenderloin portion away from the hottest part of your pan.
Proper Steak Preparation Techniques
Room temperature meat cooks more evenly than cold meat straight from the refrigerator. Remove your steaks from refrigeration 30 to 45 minutes before cooking, depending on thickness. This step ensures even cooking from edge to center.
Pat the surface completely dry with paper towels just before seasoning. Moisture on the surface will create steam instead of the desired searing effect. Some chefs place steaks on a wire rack in the refrigerator for several hours to air-dry the surface.
Season generously with coarse salt and freshly ground black pepper at least 15 minutes before cooking. Salt draws moisture from the surface initially but then dissolves into the natural juices, creating a brine that penetrates the meat. This process enhances flavor throughout the steak.
Simple seasoning often produces the best results because it allows the natural beef flavor to shine. Kosher salt and coarse black pepper create the classic combination that complements rather than masks the meat’s taste.
Consider compound butters or herb crusts for special occasions. Garlic, rosemary, and thyme pair beautifully with beef. Apply these aromatics during the final stages of cooking to prevent burning.
Step-by-Step Pan Searing Process
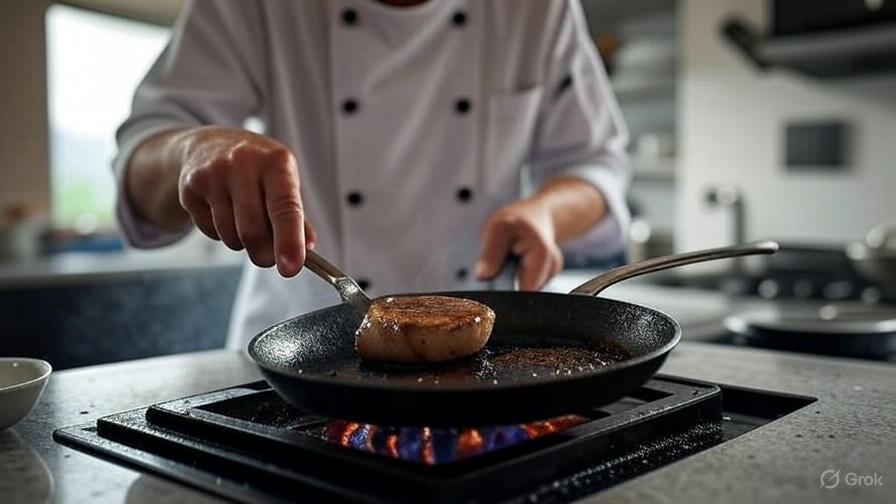
Start by preheating your pan over medium-high to high heat for at least five minutes. The pan should be hot enough that a drop of water immediately sizzles and evaporates upon contact. This temperature ensures proper searing from the moment the meat touches the surface.
Add a thin layer of high-heat cooking oil to the preheated pan. Avocado oil, grapeseed oil, or refined olive oil work well because they have high smoke points. Avoid butter at this stage because it will burn at searing temperatures.
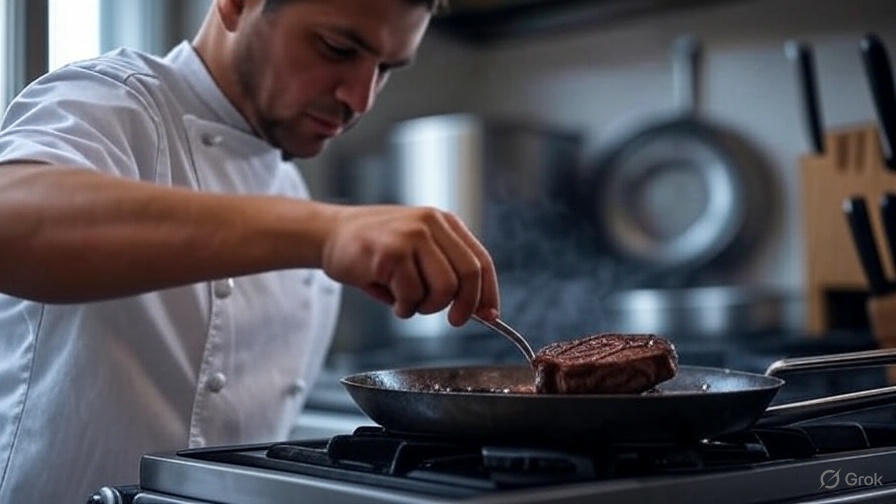
Gently place the seasoned steak in the hot pan, laying it away from your body to prevent oil splatter. You should hear an immediate, aggressive sizzling sound. If you don’t hear this sound, the pan isn’t hot enough yet.
Resist the urge to move or flip the steak during the first few minutes. Let it sear undisturbed for 3 to 4 minutes, depending on thickness. The meat will naturally release from the pan when it has developed a proper crust.
Flip the steak only once during pan searing. Use tongs rather than a fork to avoid puncturing the meat and releasing valuable juices. The second side typically requires less time than the first side because the pan has become even hotter.
Temperature Control and Timing Guidelines
Internal temperature determines doneness more accurately than timing alone. Different thicknesses and starting temperatures affect cooking times significantly. Invest in a good thermometer for consistent results every time you cook.
Rare steaks reach an internal temperature of 120°F to 125°F. The center remains cool and red with a warm exterior. This level requires careful monitoring to avoid overcooking the thin band of cooked meat around the edges.
Medium-rare steaks measure 130°F to 135°F internally. The center appears warm and red with a broader band of pink meat extending toward the edges. Most chefs consider this the ideal doneness level for premium cuts.
Medium steaks register 135°F to 145°F in the center. The interior shows pink throughout with no red areas remaining. This doneness level works well for leaner cuts that benefit from slightly more cooking.
Well-done steaks exceed 145°F internal temperature. The meat appears brown throughout with no pink areas visible. High-quality cuts become less enjoyable at this doneness level because they lose moisture and tenderness.
The Butter Basting Technique
Professional chefs often finish pan-seared steaks with butter basting during the final minutes of cooking. This technique adds richness while helping to cook the steak evenly. Add cold butter to the pan when the steak nears your desired doneness.
Tilt the pan slightly and use a spoon to continuously baste the melted butter over the steak’s surface. The hot butter helps cook the top surface while adding flavor and promoting even browning. This technique works especially well for thicker cuts.
Fresh herbs like thyme, rosemary, or sage can be added to the butter for aromatic enhancement. Smashed garlic cloves also infuse the butter with additional flavor. These aromatics should be added to the butter, not directly to the hot oil.
Keep the butter moving to prevent it from burning. If the butter begins to turn brown too quickly, reduce the heat slightly. Brown butter adds a nutty flavor that complements beef beautifully.
Resting and Serving Your Perfect Steak
Resting allows the juices to redistribute throughout the meat after cooking. Transfer the finished steak to a warm plate and tent loosely with aluminum foil. Let it rest for 5 to 10 minutes before slicing or serving.
During the resting period, the internal temperature will continue to rise by 5 to 10 degrees. Account for this carryover cooking when determining your target temperature. Remove the steak from heat when it’s 5 degrees below your desired final temperature.
Use this resting time to prepare a simple pan sauce from the fond left in your cooking pan. Deglaze with wine, stock, or even water to capture all those flavorful browned bits. A splash of cream or cold butter can finish the sauce beautifully.
Slice against the grain for maximum tenderness, especially with cuts like flank or skirt steak. The grain refers to the direction of the muscle fibers. Cutting across these fibers shortens them, making each bite easier to chew.
Common Mistakes and How to Avoid Them
Starting with a cold pan ranks among the most common searing mistakes. Cold pans cannot create the high heat necessary for proper browning. Always preheat your pan thoroughly before adding oil or meat.
Overcrowding the pan reduces the cooking temperature and creates steam instead of searing. Cook steaks in batches if necessary to maintain proper spacing. Each piece should have adequate room around it for air circulation.
Moving the meat too early prevents proper crust formation. The steak will stick to the pan initially but will release naturally when properly seared. Patience during this stage pays off with superior flavor and appearance.
Using the wrong oil can create off-flavors or smoking issues. Choose oils with high smoke points for high-heat cooking. Save delicate oils like extra virgin olive oil for finishing touches after cooking.
Finishing Techniques and Flavor Variations
Oven finishing works well for very thick steaks that need additional cooking after searing. Transfer the entire pan to a preheated 400°F oven after searing both sides. This method ensures even cooking throughout thick cuts.
Herb crusts add sophisticated flavors to simple pan-seared steaks. Mix chopped fresh herbs with breadcrumbs and a little oil, then press onto the seared steak before finishing in the oven. Parsley, thyme, and garlic create a classic combination.
Compound butters provide an elegant finishing touch that melts beautifully over hot steak. Mix softened butter with herbs, garlic, or other seasonings, then roll in plastic wrap and refrigerate until firm. Slice and place on hot steaks just before serving.
Pan sauces utilize the flavorful fond left in your cooking pan. Red wine reductions, mushroom sauces, or simple butter sauces can elevate your steak from good to exceptional. Start building these sauces while your steak rests.
Advanced Tips from Professional Kitchens
Reverse searing works exceptionally well for thick steaks. Start by cooking the steak in a low oven until it nearly reaches your target temperature, then finish with a high-heat sear in your pan. This method provides more control over doneness.
Salt curing enhances flavor and texture in premium cuts. Season steaks with coarse salt and refrigerate uncovered for several hours or overnight. The salt will draw out moisture initially, then dissolve back into the meat, creating a more concentrated flavor.
Multiple pan techniques allow you to cook several steaks simultaneously. Use two pans if you’re cooking for a crowd, staggering the start times slightly so everything finishes together.
Temperature zones in your pan can help manage different doneness preferences. The center of most pans runs hottest, while the edges remain slightly cooler. Use these natural variations to your advantage when cooking multiple steaks.
Troubleshooting Common Issues
Gray bands around the edges indicate uneven cooking, usually from starting with cold meat or using incorrect temperatures. Room temperature steaks and proper preheating solve most edge-banding issues.
Sticking problems occur when the pan isn’t hot enough or when you try to flip too early. Properly heated pans combined with patience during the initial searing stage prevent most sticking issues.
Uneven browning results from inadequate preheating or moving the steak too frequently. Let the pan reach proper temperature and resist the urge to check the underside too early.
Dry steaks often result from overcooking or inadequate resting. Use a thermometer for accuracy and always rest your steaks before slicing to retain maximum juiciness.
Pairing and Presentation Ideas
Classic steakhouse sides complement pan-seared steaks beautifully. Roasted vegetables, mashed potatoes, or simple salads provide balance without competing with the meat’s flavors. Keep sides simple to let the steak shine.
Wine pairings depend on the cut and preparation method. Full-bodied red wines like Cabernet Sauvignon or Malbec complement rich, fatty cuts like ribeye. Lighter cuts like filet mignon pair well with Pinot Noir or even quality white wines.
Garnishing adds visual appeal and complementary flavors. Fresh herb sprigs, microgreens, or edible flowers create restaurant-style presentations. A sprinkle of flaky sea salt just before serving adds both flavor and visual interest.
Slicing presentation affects both appearance and eating experience. Fan slices across the plate for an elegant look, or serve the steak whole with sides arranged around it for a more rustic presentation.
Conclusion
Mastering the pan-searing technique opens up a world of delicious possibilities in your kitchen. This fundamental cooking method produces restaurant-quality results when you apply proper technique, use quality ingredients, and pay attention to timing and temperature.
Practice makes perfect with pan searing. Each steak teaches you something new about heat control, timing, and your equipment’s characteristics. Start with less expensive cuts while you develop your skills, then progress to premium steaks as your confidence grows.
The satisfaction of cutting into a perfectly seared steak with a golden crust and juicy interior makes all the practice worthwhile. Your family and friends will be impressed by the professional results you can achieve in your own kitchen.
Remember that great steaks start with quality meat, but technique transforms good ingredients into memorable meals. Take your time, stay patient during the searing process, and trust the method. Your taste buds will thank you for the effort.